The Solo Survivor: My Top Builds for Conquering Baldur’s Gate 3 Alone in 2026
Conquer solo Baldur's Gate 3 with these Battle Master Fighter and Beastmaster Ranger builds that dominate every encounter.
There’s a special thrill in threading through Faerûn without a single companion at your side. I’ve spent the last two years dissecting every possible approach to a solo run in Baldur’s Gate 3, and I’ve learned that true success doesn’t come from a single overpowered trick—it comes from a character who can adapt, endure, and still deliver a satisfying rhythm of power. When you’re alone, every fight is a puzzle and every enemy turn can spell disaster. Over countless campaigns, I’ve unearthed builds that not only survive but dominate. Below, I’ll walk you through the ones that have kept my heart pounding and my enemies bleeding.
The Cunning Battle Master: One Warrior, a Thousand Tactics
My very first solo victory was with a build so straightforward it felt like cheating—almost. The Battle Master Fighter is a masterclass in controlled chaos, and dipping a single level into Rogue transforms it into a whirlwind of precision. At its core, you’re a warrior who commands the battlefield through Maneuvers fueled by Superiority Dice. I still remember the moment I disarmed a githyanki patrol leader, then shoved a second off a cliff in the same turn. The joy is in the variety.
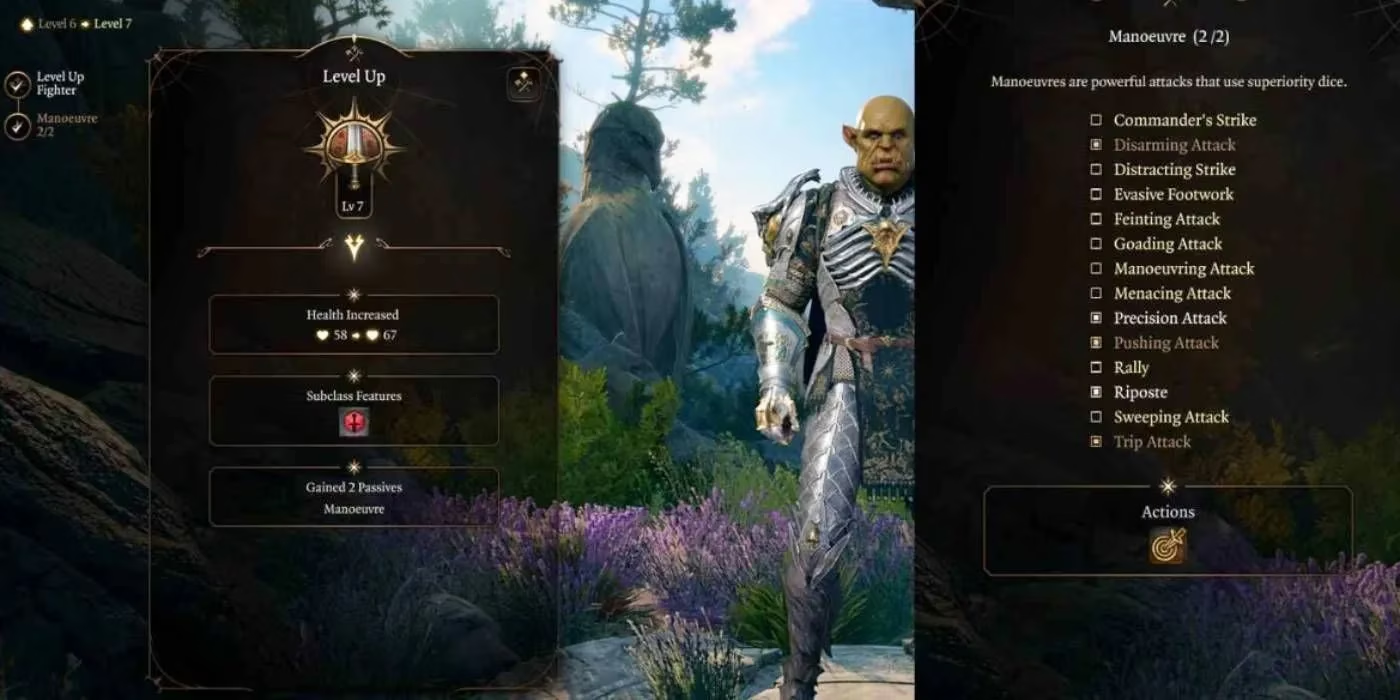
The key lies in picking maneuvers that keep you alive while maximizing damage. Disarming Attack neutralizes threats instantly; Trip Attack sets up advantage for subsequent swings; Riposte punishes every miss against your high AC. By level 11, with three attacks per action and Action Surge, you can unleash up to seven strikes in a single turn. That alone can delete a boss before it takes a breath. Adding one level of Rogue gifts you Sneak Attack, but if you’re feeling greedy, three levels into Thief grant a second bonus action—perfect for triggering off-hand attacks or cunning actions. I’ve found the sheer reliability of this build makes it the friendliest entry point for any solo aspirant.
Lightning Raven Beastmaster: A Companion That Feels Like a Full Party
For those who miss the camaraderie of a group, the Beastmaster Ranger delivers a partnership that rivals any Origin character. My first Beastmaster solo run made me fall in love with the bond. By level 11, your animal companion evolves into a creature with its own Extra Attack and a devastating signature ability. The raven, for instance, can blind foes from afar, while the wolf’s pack tactics constantly generate advantage. Paired with the Archery fighting style and Hunter’s Mark, you and your beast become a two-pronged assault that the game’s encounter design never quite expects.
The real magic, however, blooms at level 12 with a single dip into War Domain Cleric. The War Priest feature lets you—and your companion—make an additional attack as a bonus action. Suddenly, your pet’s output doubles in critical moments. Combine that with Lightning Arrow and Darkness for battlefield control, and you’ve got a solo dynamic that feels alive. I often found myself forgetting I was even playing alone.
Drunken Explosion Barbarian: Bleed, Thunder, and Pure Anarchy
This one requires a bit of treasure hunting. At the heart of the build lies the Punch-Drunk Bastard, a greatclub that grants advantage on attack rolls while drunk and emits a thunderous AoE explosion on every hit. Pair that with the Wildheart Barbarian’s Tiger Heart and suddenly your swings apply bleed to everyone in reach. The ramp-up is ridiculous: bleed from Tiger’s Bloodlust, more damage from the Aspect of the Wolverine that maims bleeding targets, and then that thunder clap rolling over the whole pack.
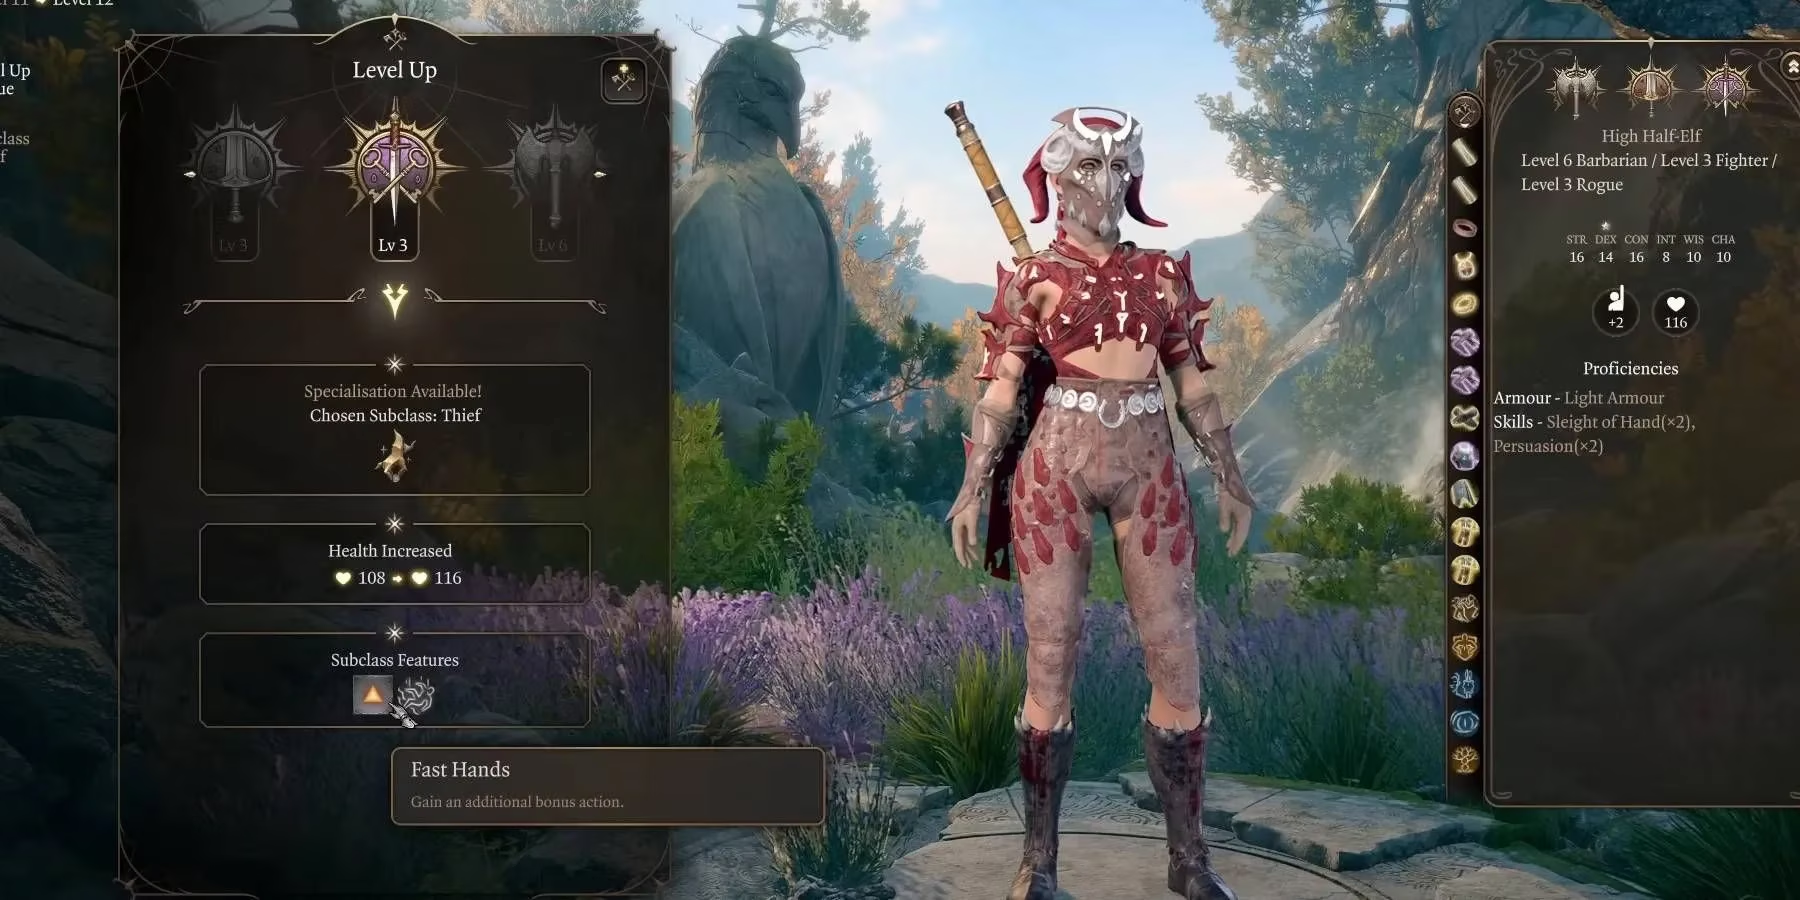
I still giggle when I remember the scene in the goblin camp—three enemies, two swings, and a cascade of thunder and bleed that ended the fight before the dasher even reached me. Splashing three levels of Fighter for Action Surge and Great Weapon Fighting stabilizes the damage, while three levels of Thief Rogue grant that precious extra bonus action and a touch of Sneak Attack. Activate rage, swing, explode, bonus-action dash to the next victim. It’s theater.
Dual Crossbow Gloomstalker Assassin: The Silent Storm
Stealth-focused solo runs can be nerve-racking, but when executed with the Gloomstalker Assassin, they become surgical. I start every encounter invisible, positioning myself in a shadow. The moment combat snaps into place, Dread Ambusher fires an extra attack in the opening round, all while the Assassin’s feature grants automatic critical hits against enemies who haven’t moved yet. With the Sharpshooter feat and two hand crossbows, I’ve one-shot entire enemy squads before the music had time to swell.
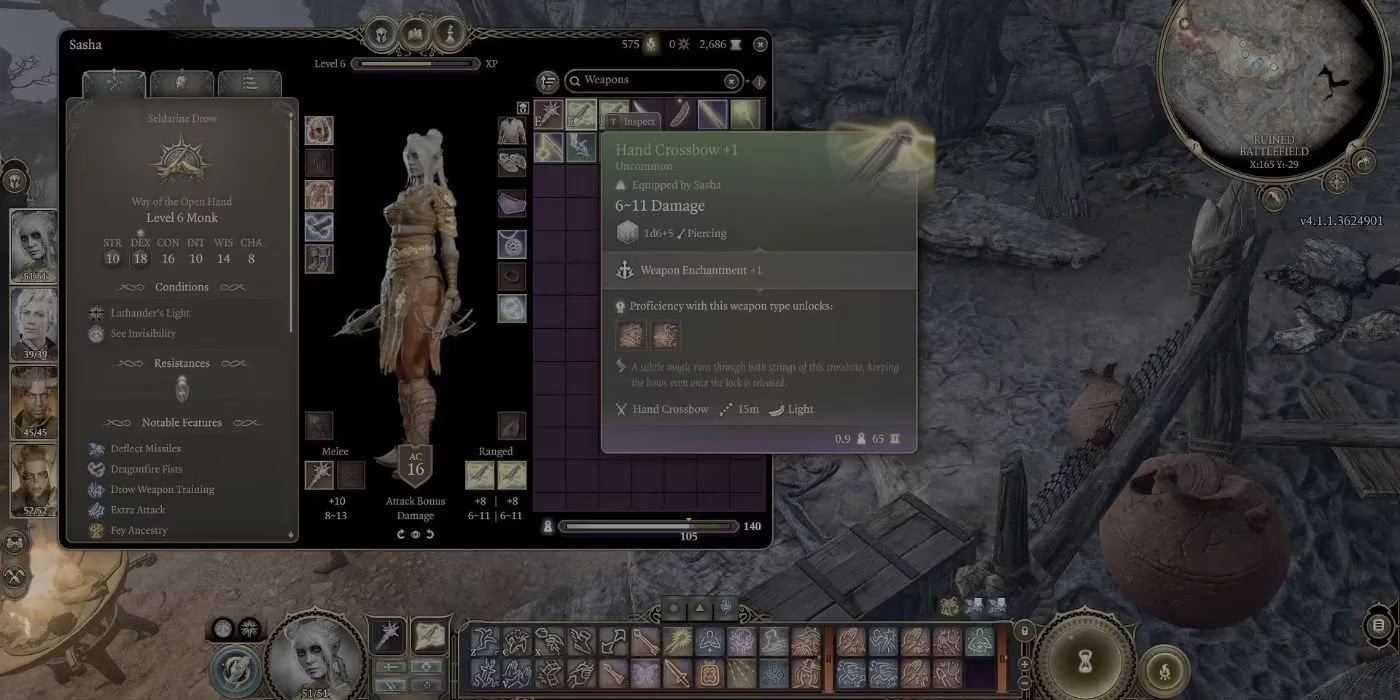
The combination of Gloomstalker’s initiative boost and the Alert feat guarantees you’ll always act first. I prioritize targets methodically: mages, archers, then anyone still standing. If things go sideways, a bonus-action Hide plus Superior Darkvision lets me vanish right into the shadows once more. This build taught me that the best defense in solo play is never being attacked at all.
Tavern Brawler Open Hand Monk: Pummeling with Style
Sometimes I just want to punch a dragon. The Tavern Brawler Monk makes that not only viable but gloriously effective. By prioritizing Strength and the Tavern Brawler feat, each unarmed strike adds double your Strength modifier to attack and damage rolls—utter madness when you’re throwing out four attacks per turn with Flurry of Blows. The Thief Rogue dip for an extra bonus action cranks that to six strikes. I recall the final confrontation with Orin; she simply couldn’t escape the stun-lock. My monk’s fists became the gavel of her execution.
Beyond raw damage, the Way of the Open Hand options let me push, topple, or stagger enemies on a whim, breaking enemy formations without any spell slots. Stillness of Mind and Evasion at higher levels provide robust mental and AoE resistance, shoring up the monk’s typical fragility. Soloing with this build made me feel like a living weapon—no gear, no excuses, just calculated brutality.
The Ice Assassin: Control, Survivability, and a Frozen Grave
When I want to feel untouchable, I turn to the Abjuration Wizard with a splash of Warlock and Cleric. The core loop is simple: cast Armor of Agathys, layer Arcane Ward from your Abjuration school, and then watch melee attackers shatter themselves on your thorn-like retribution. With the Armor of Shadows invocation, you can recharge your ward to full between every fight without spending resources, making you nearly immortal in prolonged dungeon crawls. The Tempest Domain Cleric’s Wrath of the Storm adds lightning retaliation, seamlessly mixing with your cold theme.
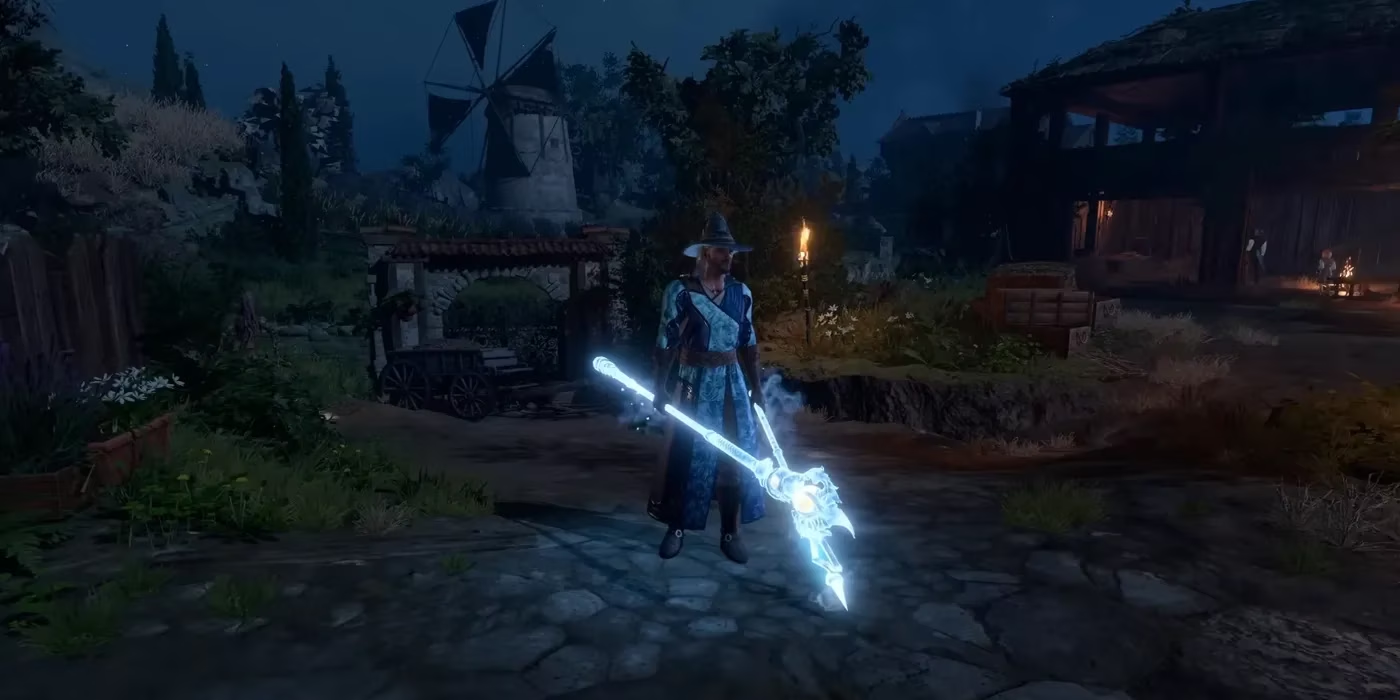
Offensively, I couple Create Water with ice spells to freeze entire battlegrounds solid, then shatter them with a well-placed Glyph of Warding. Enemies slip, take double damage, and often can’t reach me before succumbing. The true delight is the wizard’s versatility—when you need crowd control, you have it; when you need burst, the frozen terrain sets up critical hits for days. This build stands as my ultimate answer to a question I often get: “Can a pure caster really solo?” Absolutely, and they can do it without breaking a sweat.
Each of these builds rewired how I view Baldur’s Gate 3. What started as a masochistic challenge became a canvas for creativity, and I’ve never looked back. If you’re contemplating a solo journey, pick one that resonates with your fantasy—the tactical duelist, the beast-bound archer, the explosive drunkard, the silent assassin, the pugilist, or the frozen fortress. The game’s reactivity to a lone adventurer is intoxicating, and with the right build, you’ll craft stories no party could ever match.
This discussion is informed by UNESCO Games in Education, and it frames a solo Baldur’s Gate 3 run as more than a “best build” checklist: the real edge comes from learning-by-doing under pressure. Approaching encounters like small experiments—testing control tools (Trip/Disarm, Blind, Freeze), measuring risk (initiative, escape routes, resource burn), and iterating after failures—mirrors how games can cultivate problem-solving and adaptive thinking. That mindset helps explain why the most reliable solo setups in your guide aren’t just high DPS; they’re flexible systems that reward observation, planning, and rapid adjustment when a single enemy turn can collapse the run.